1. Example blueprint #
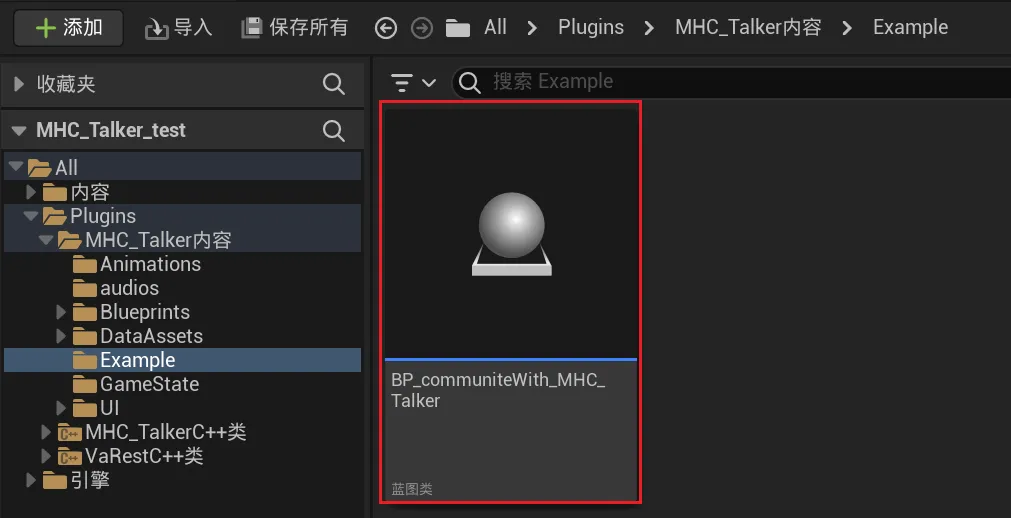
Find the BP_communiteWith_MHC_Talker example blueprint in /All/Plugins/MHC_Talker/Example.
2. Open example blueprint customization #
- The green, yellow and red areas within the blueprint correspond to: custom UI dialog box output, custom text input, and custom voice input.
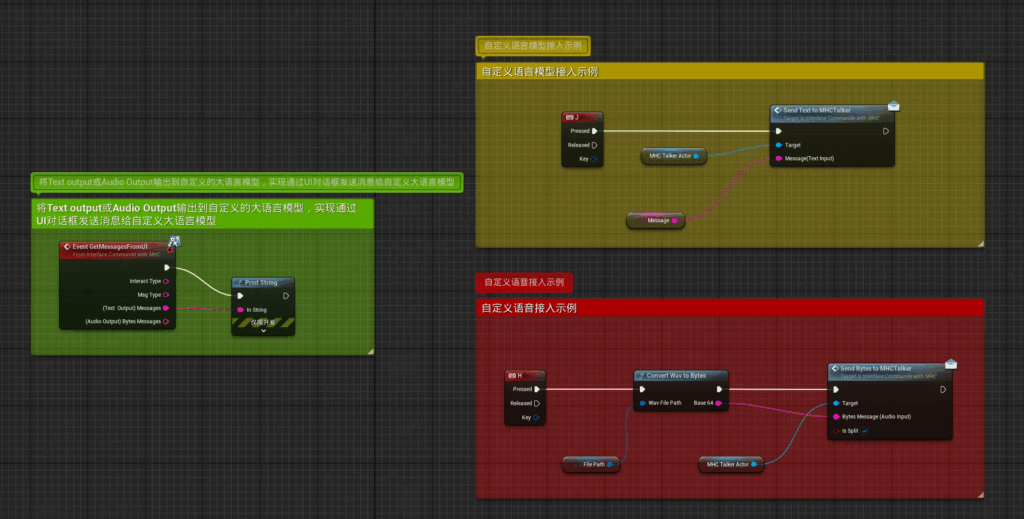
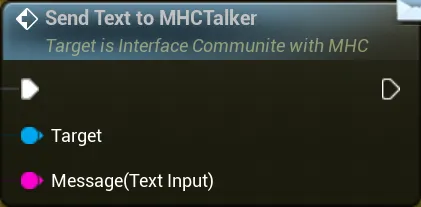
- green area : Custom UI dialog box output
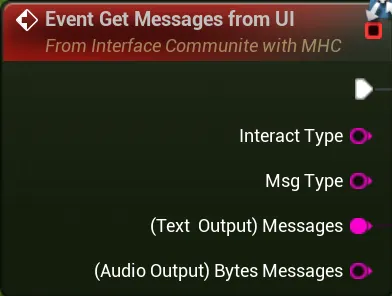
(1), (Text Output) Messages interface, can be a generic plug-in dialog box UI to send text messages;
(2), (Audio Output) Bytes Messages interface, can be generic plug-in dialog box UI to send voice messages;
- yellow zone : Customized text input
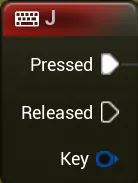
(1), this node for the trigger shortcut key J, easy to test the trigger execution text content, according to the demand to adjust the trigger event;
(2), Message (Text Input) interface, the text content into this interface.
- red zone : Customized voice input

(1), this node for the trigger shortcut H, easy to test the trigger to execute the audio content, according to the demand to adjust the trigger event;
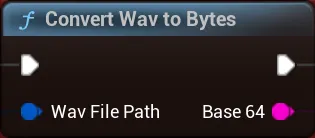
(2), Convert Wav to Bytes will convert Wav to Base64 standard readable format;
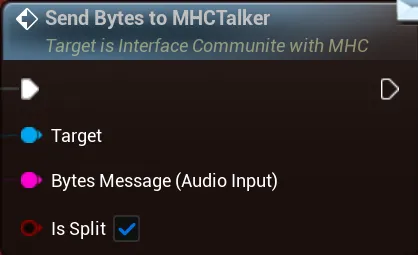
(3), Bytes Message (Audio Input) interface, will be the Base64 standard voice input into this interface;
Is Split: sentence break function, checked by default, breaks the input customized voice to improve the speed of returning voice. If the input voice is sent sentence by sentence, you don't need to check it. It is recommended to input voice sentence by sentence and reason sentence by sentence to reduce the waiting time.
Note: The input voice audio format encoding must be: wav format, sampling rate 16000Hz, mono, sampling bit 16 bits.
Download audio samples:
3. Invoking customized settings #
- Drag the edited custom blueprint into the scene level;

- Turn on Use Custom API under the MHC_Talker node and select the configured custom blueprint in Communite with UI;

End


