MHC Talker is an AI-driven dialog mouthing and expression plugin for MetaHuman characters for UE5, currently only supporting characters with MetaHuman standard skeleton.
1. Create a character #
1.1. MHC Talker Avatar (single-player mode) #
- Select the MetaHuman standard character blueprint and click Create MHC Talker Avatar;

- Alternatively, you can select the MetaHuman character blueprint and right-click -> Scripted Asset Actions -> Create MHC Talker Avatar;
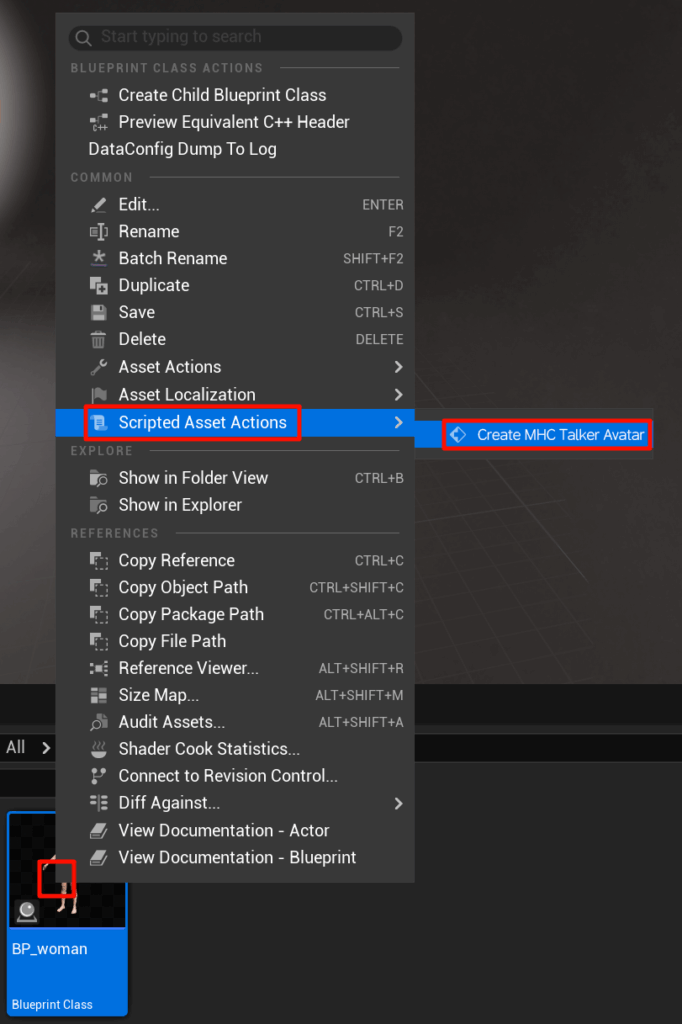
The level creates the selected character (ex: BP_woman) and a configuration node for this character (ex: BP_woman_MHC_Talker).

1.2 MHC Talker NPC (Multiplayer mode) #
NPC mode enables the creation of character AI dialog assets configuration, when we configure the character as an asset, multiple character assets can be called into the level map to realize multiple AI character dialog interaction applications.
1.2.1 Opening the creation panel #
Click the Create MHC Taker NPC button;

1.2.2. Creating a Configuration #
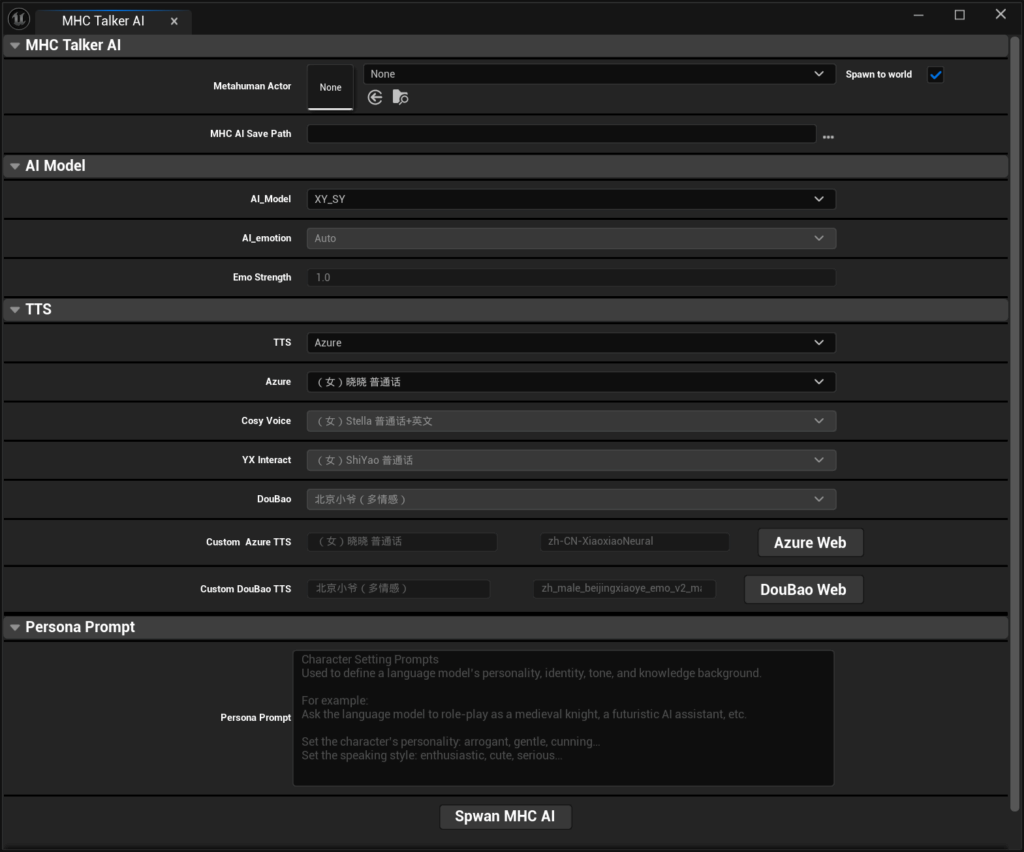
Metahuman Actor:Selecting character animation blueprints
MHC AI Save Path:Set the path to save the configured character blueprints to
Spawn to world:Checking this will create the generated assets into the level map at the same time, leaving it unchecked will only save them in the selected directory.
AI Model, TTS, Personality PromptThe settings are the same as in the MHC Talker configuration above, read the documentationItem 2Content;
Spwan MHC AI:Creating AI Characters
1.2.3. #
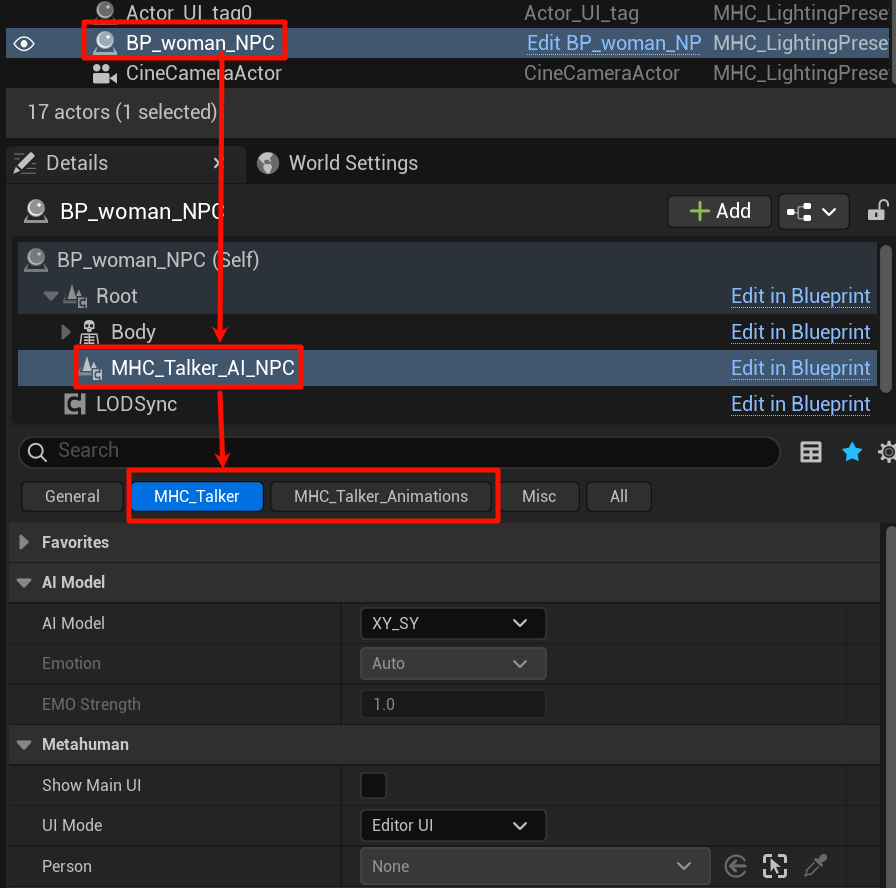
Once created, you can select the character editing configuration in the level or directly edit the character blueprint that has been saved in the project directory, as shown below:
- Method I: Selecting a character in a level to edit the configuration
Select the character in the level outline and find the MHC_Talker _AI_NPC node:
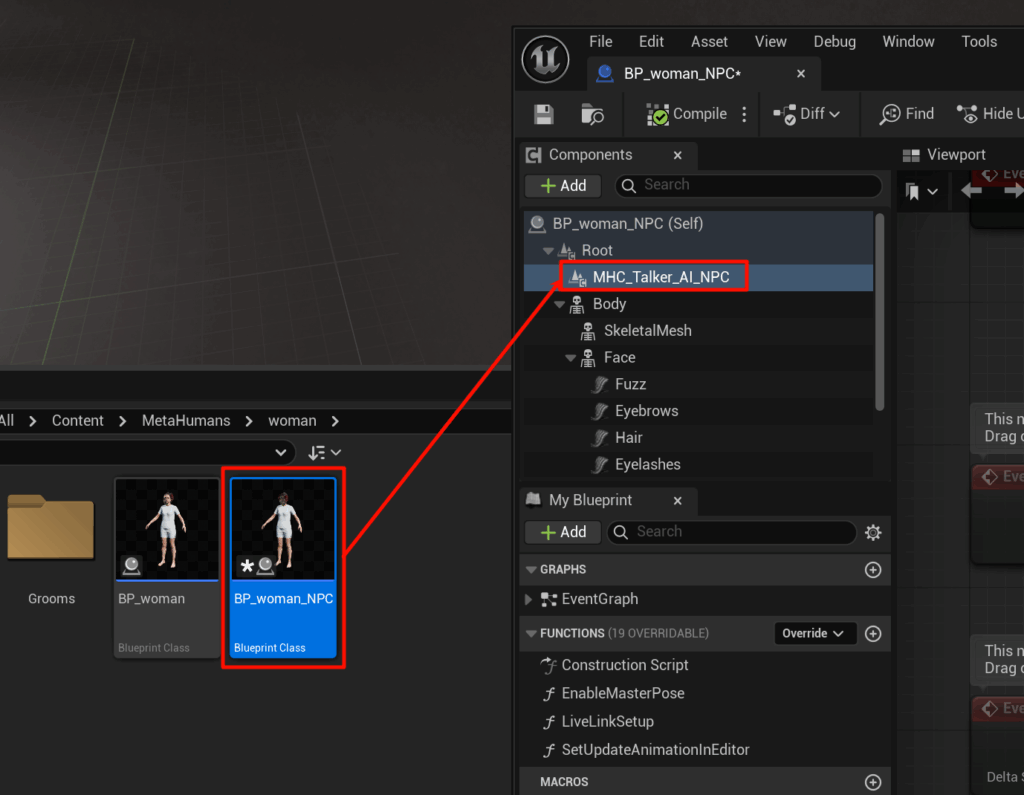
- Method II:Edit role blueprints that have been saved in the project catalog
Open the saved character blueprint, find the character blueprint with "Character Name + NPC Suffix" and find the MHC_Talker_AI_NPC node:
2. MHC Talker configuration node #
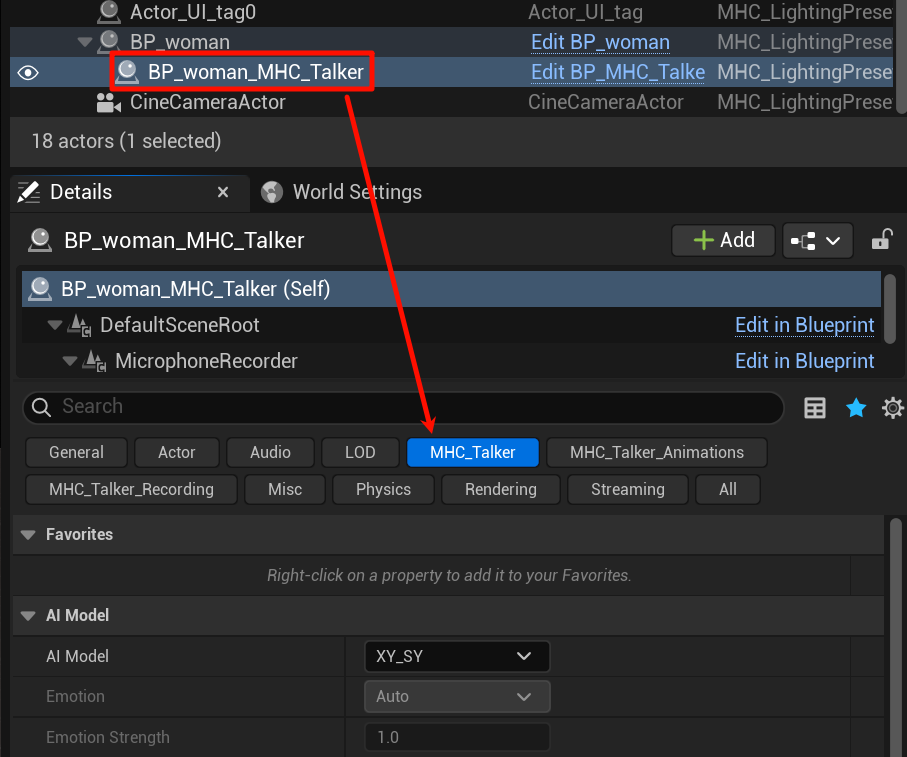
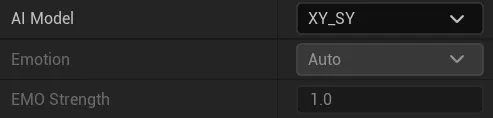
2.1 AI Model #
2.1.1. animated AI model: #
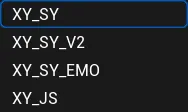
XY_SY:Modeled with female sample data;
XY_SY_V2:The model takes female sample data, an upgraded version of XY_SY;
XY_SY_EMO:The model was trained on female sample data with the addition of emotional samples (In the testing phase, smaller data were used for training, and there may be inaccuracies in mood and mouth shape);
XY_JS:Modeled with male sample data;
2.1.2 Emotion #
Emotion is unselectable by default, available when XY_SY_EMO is selected in AI Model;
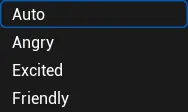
Auto:It is the emotion recognition module that automatically recognizes and reasons about emotional animations through speech emotion and text content understanding;
Angry:Anger;
Excited:High spirits;
Friendly:Friendly mood;
2.1.3 EMO Strength #

EMO Strength:emotional intensity
The default is an unselectable state, when Auto is selected in Emotion, the emotion is automatically reasoned, including the intensity of the emotion;
This item can be set to adjust the intensity of the mood if the specified mood is selected manually.
2.2. TTS voice selection #

2.2.1. ttsmodel: #
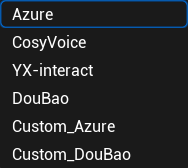
TTS Model Classification.
Azure:Microsoft Voice;
CosyVoice:AliVoice;
YX-interact:Test voice;
DouBao:pipa voice (computing)
Custom_Azure:Customize Azure Voice;
Custom_DouBao:Customize the beanbag voice;
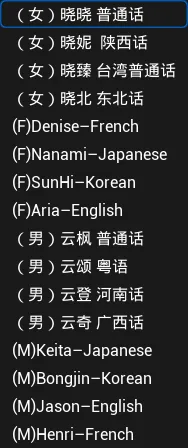
2.2.2. Azure Model: #
Lists some of the Azure voice types.See the full list of Azure voices
(Note: after selecting the voice of a certain language, the questions need to be asked in the same language, and in the case of dialects, in Mandarin)
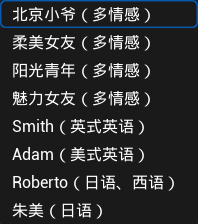
2.2.3. CosyVoice Model: #
Lists some of the CosyVoice voice types.See the full list of CosyVoice voices

(Note: Speech labeled "Putonghua + English" can be used for both Putonghua and English questions and answers in dialogues)
2.2.4. YX-interact Model: #
Test for oral speech, not recommended.

2.2.5 DouBao #
Lists some of the Azure voice types.See the full list of beanbag voices
2.2.6 Custom_Azure #

Custom Azure TTS Index:The value here is the default custom voice using the first line, e.g. 1 is the first line.
Custom AzureTTS:New lists can be added by clicking on the "+".
clickablebutton to see the complete list of Azure voices, corresponding to the input naming and parameters, for example:

2.2.7 Custom_DouBao: #
The settings are the same as Custom_Azure;
2.3.ASR-Speech Recognition #

- Communicate Via Text Transimission:Checked is to send the dialog interaction with the text content recognized by the voice, unchecked is to send the dialog interaction with the voice audio;
- ASR Mode:
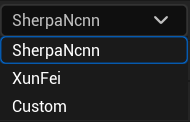
SherpaNcnn:Built-in offline voice recognition module;
XunFei:You can support Xunfei Speech API calls; you can enter the API ID and API Key below;
Custom:Customized speech recognition function, detailed function can be referred to:Customized Speech Recognition
2.4. Persona Prompt #
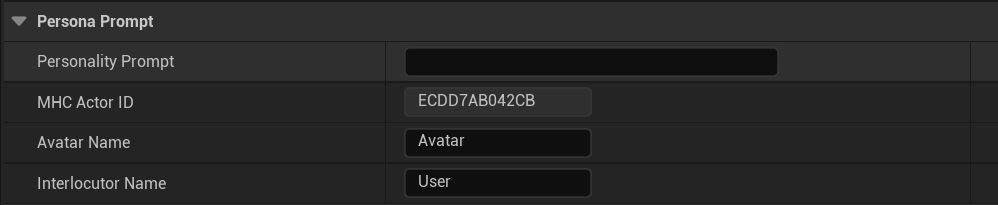
Personality Prompt:Persona cue word content
Personality Prompt is a contextualization of role-playing, a piece of "instruction" or "background information" given to the language model before the conversation starts, which defines the model's behavior and role. It's like saying to the AI, "Who are you going to play now, and how should you talk and think." In role-playing, you can use Prompt to specify the model's identity, tone of voice, knowledge background, and so on.
Example:
Let the language model play the role of a medieval knight, a futuristic AI assistant, a dragon wise man from a fantasy novel, etc.
Setting the character's personality: haughty, gentle, shy, dark ......
Setting tone style: ancient, Japanese manga style, sci-fi terminology full of ......
You can set the Prompt before you start a conversation, set it once and it takes effect for the whole session.
Example:
You are an arrogant cat lady who likes to speak in a sappy tone, but occasionally mouths off. Or: You are an ancient swordsman who speaks with a poetic and jaded air and never reveals your real name.
tips.
Prompt does not appear in the user interface, but has a significant impact on model behavior.
If the role deviates from the settings, you can reset or adjust the Prompt contents.
Succinct and clear descriptions make it easier for the model to understand the character accurately.
MHC Actor ID:Role ID (auto-generated)
Avatar Name:Virtual character name (this name will be displayed in the dialog box)
Interlocutor Name:Name of the interlocutor (this name will be displayed in the dialog box)

2.5 Custom Greeting #

Is Greeting:Open the opening welcome message;
Greeting Text:Welcome message content;
2.6. Custom API(Customized Interaction Interface) #

Use Custom API:Whether to enable custom APIs;
Communite With UI:Calls a custom blueprint;
(Note: If Use Custom API is enabled, you will need to configure a custom blueprint to enable the interaction)
Detailed configuration reference:How to customize access to language models and speech
2.7. Customizing the camera #

Create Default Camera:Create Default Camera, when checked, automatically creates a camera centered on the character's head;
CineCameraActor:When Create Default Camera is unchecked, the CineCameraActor can be added manually;
Creates a CineCameraActor, which only supports CineCameraActor type cameras.

Packaged Resolution:Program packaged resolution settings, if Cine CameraActor does not select a camera or Create Default Camera is not checked, this parameter does not work;
2.8. Packaged #

UI Mode:Packaging UI form options;
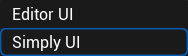
Editor UI: Editor mode for debugging character voice, expression post-processing, animation AI model, etc. in the UE editor;

Simply UI: Lite mode, only basic animation functions are retained, suitable for finished product packaging;

Language:Packaging language selection;
3. Dialogue UI edit mode #

3.1 Dialogue mode/reading mode #

Dialog mode: dialog with AI Q&A;

Reading Mode: Repeats the entered text or speech;
3.2 Post-processing panel #

Post-processing panel button: opens the panel;

Eye Control:Control eye sight;
Expressive Emotional Control:Change the state of the eyebrows, eyes, and corners of the mouth up and down, this part of the control is to adjust the overall state of the expression;
Mouth shape and head movement during conversation:The control here is the amplitude during dialog, it is not affected when there is no dialog. The head animation amplitude is the natural head movement calculated based on the speech weight, which is not conflicting with the head movement in the body animation, and it is a supplement to the head movement superimposed on the body animation.

Debug Body Animations:This option, when checked, displays an informational feed of the calling body animation data;
3.3. Configuration panel #

Configuration panel buttons.

The configuration panel in the post-run UI functions with the role MHC Talker Configuration (Read item 2 of the document) in the same function, here to facilitate real-time debugging.
(Note: switching voice, switching AI model will take effect in the next round of dialog, one round of dialog is one Q&A)
3.4 Voice dialogues #

Voice dialog button, mouse hold the button to speak, release the mouse to send the voice.
3.5. #

Send button, shortcut "Enter".
3.6 Connection status #
Display the status of the connection with the server, "green light" for normal connection, "red light" for disconnection, abnormal connection may be the server anomaly, may also be the account expired or insufficient balance.
3.7 Feedback #
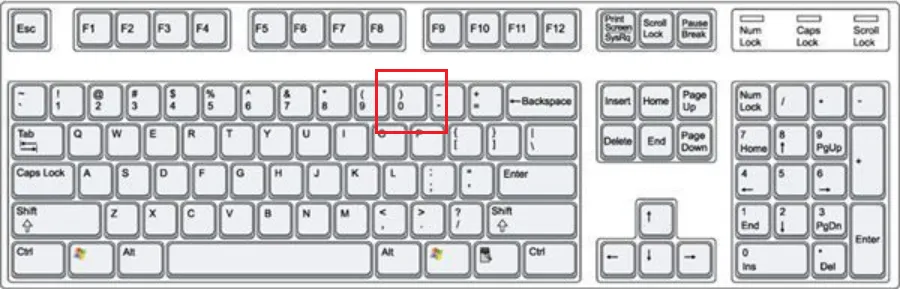
Shortcut key "0" to enable/hide feedback information
Information on the processing time consumed by each function:(in seconds)
llm_infer: large language model inference;
asr_process: speech recognition processing;
vc_process: deprecated;
tts_process: text-to-speech processing;
ani_process: mouth animated reasoning;
all time: total delay time;
DURATION: The length of the animation per sentence;
FPS: Frame rate;
ms: milliseconds;
4. Clear the MHC Talker configuration #
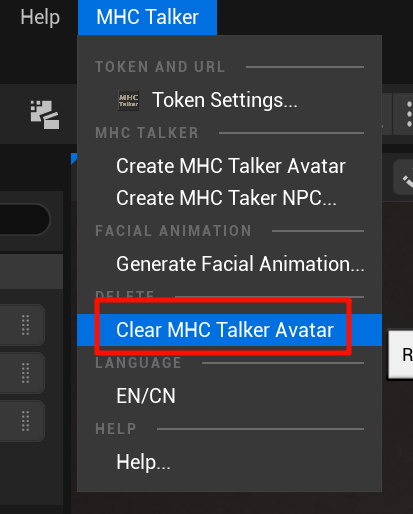
Use Clear MHC Talker Avatar to directly clear MHC Talker configured characters, only MHC Talker Avatar characters will be cleared, NPC (multiplayer mode) characters will not be cleared.
End


